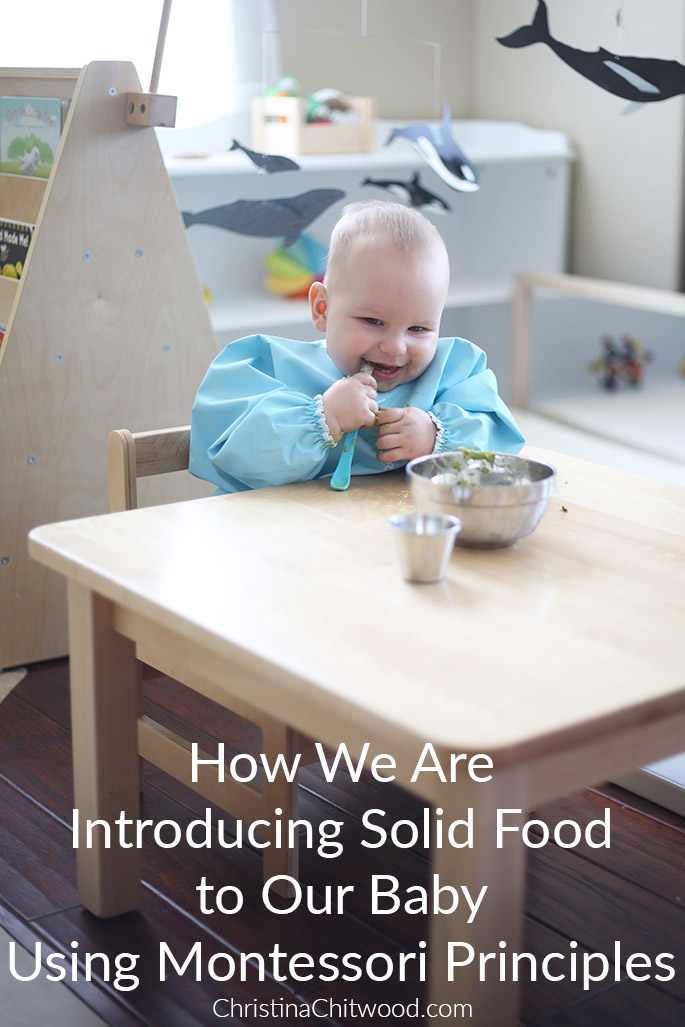
Introducing solid food to your baby is an exciting time! Your baby can start to develop more independence through eating solid food since he or she can hold the spoon to eat from, the cup to drink from, or even hold the whole food. I’m sharing how we are introducing solid food to our baby using Montessori principles.
Our baby boy, Caleb, at 6 months old.
Disclosure: This post contains affiliate links (at no cost to you).
Introducing Solid Food to Our Baby
We introduced solid food to our baby boy, Caleb, when he was 6 months and 3 days old. Caleb has been showing lots of interest in food, reaching for food, and even grabbing our plate or food for quite a while now. So, we wanted to introduce solids to Caleb just after he turned 6 months old.
How We Are Introducing Solid Food to our Baby
Once Caleb had been showing a lot of interest in food and was 6 months old, this is how we introduced solid foods. The first food we introduced was an avocado mixed with a little breast milk. I’ve been exclusively breastfeeding, so I don’t have a pump. I just expressed the breast milk by hand. It’s easy since you don’t need a lot of breast milk to add to the solid food.
Here’s how we introduced Caleb’s first solid food. The photos are all from his first time eating solid food.

1. We introduced the whole food our baby was going to eat. We gave Caleb a washed whole avocado to hold, so he could look at and feel the avocado.

2. We showed our baby the food being cut or opened. We showed Caleb the avocado being cut in half. Then we let Caleb look at the avocado cut in half at his table.
We told Caleb: “This is the outside, the skin. This is the inside, the flesh. This is the stone.”

3. We showed our baby the food being prepared. We showed Caleb the avocado being mashed and then dished into his bowl.
4. We spoon-fed our baby the the food and let our baby hold the spoon and feed himself when he wanted to. Some babies may take a while to be interested in holding the spoon and feeding themselves, and either is fine. Just follow your baby and his or her interests.

5. We ate the food with our baby. We ate avocado with Caleb to help him get even more comfortable eating the food then and in the future.

How it Worked and What We’re Continuing to Do
This worked well for us and we were happy with it. Caleb seemed to really enjoy the process leading up to eating the food. This was his first time eating solids, so he was a little uncertain about avocado at first. He started to like it more as he ate more. His favorite food so far is sweet potato. We’re planning to continue doing the above order as much as possible, especially when a new food is introduced. We’ve been doing it almost every time Caleb has solids, and he’s been loving his meal times.
What We Used
Here are some of the items we’re using with our baby and are liking when introducing solid food:
Our pediatrician recommended the book Feeding Baby Green: The Earth Friendly Program for Healthy, Safe Nutrition During Pregnancy, Childhood, and Beyond. We really loved the chapter on introducing solid foods. There are some especially helpful ideas in it, such as that it can take 6 – 16 meals for a baby to like a specific flavor if he or she doesn’t like it at first. Also, there’s a certain time period that’s best to introduce as many new foods as possible because a baby is more open to new food. After that, they usually go through a stage of not liking new foods. We were happy to know about these in advance. The book even has a checklist at the back for making sure you get enough servings in of certain categories of plant-based food to help increase his or her likelihood of continuing to eat and enjoy these types of foods as they get older.
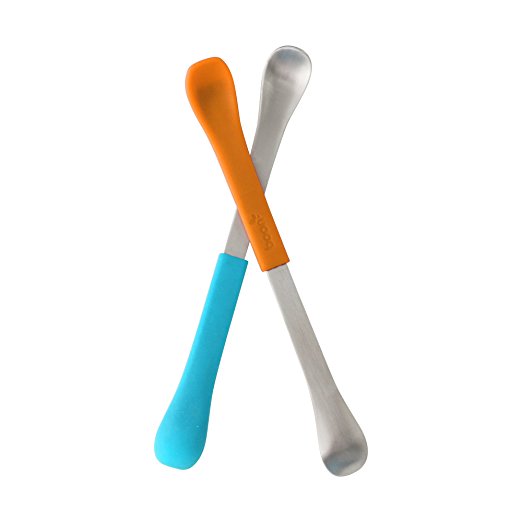
The Boon Swap Infant Feeding Spoon is a great first spoon because it has a food-grade silicone side and a stainless steel side. The silicone end is nice when you first start feeding your baby and when he or she is first learning. Then your baby can transition to the stainless steel side. It’s also a nice size, so you don’t get too large of mouthfuls, especially at the beginning.
These RushGo Stainless Steel Bowl Set Double-walled Insulated are a great size. They aren’t too large for when a baby starts solids, and they will work as your baby and then toddler eats larger portions. They could also be great for activities once you’re finished using them for serving food or if you don’t need the entire set for serving food.

are a great invention for when a baby first starts solids. The bowl is stainless steel and the suction and lid are silicone. We don’t use this all the time. We’ve used the bowls above, which would be more Montessori, and we also use this bowl some of the time. It especially works well for the food that can be messier if the bowl is tilted. We’ve also used it as a travel bowl. It has worked great for day trips when we need to feed Caleb while we’re out. Because it’s stainless steel, it cannot be microwaved. So you would need to heat any food in a separate bowl or container before transferring to this bowl.
We got this 100% food grade silicone Bumkins Suction Silicone Baby Bowl (Lid & Spoon)for travel and heating up food. It’s worked well for travel and it is nice that you can heat up food in the bowl. Again, the suction is great, especially at a restaurant or anywhere you really want the bowl to stay put. The handle is useful for if you are feeding your baby and don’t have a table to suction the bowl to.
The Baby Bjorn Eat & Play Smock is great quality and washes well in the washing machine. It covers really well, and is easy to put on and take off. This smock will be used for eating, painting, and other work that could get messy.
This is another cute bib. This Pikababy Long Sleeved Bib Waterproof Bib with Pocket covers well. The quality isn’t as high as the Baby Bjorn smock, but it is a good, less-expensive, option. We thought it would be useful to have more than one full-coverage bib, and it has been great having more than one. This bib is simple to put on and take off, but not as easy as the Baby Bjorn smock.
This is the Make My Day Bib we bought for our baby boy. Here this Make My Day Baby Soft Silicone Baby Bib comes in 22 different styles and colors. It is an awesome quick and easy option for at home and on the go. This bib is 100% food-grade silicone, and comes in 22 different styles and colors. It’s dishwasher safe for simple cleaning. It’s quick and easy to put on your baby. It’s not full coverage but would be great for catching food such as rice that can get scattered around easily. It’s also great for times where you don’t want to put the entire full-coverage bib on or if you’re on the go.
This Kiddo Feedo Baby Food Preparation & Storage Container Tray with Silicone Clip-On Lid – 9 x 2.6oz Easy-out Pods is awesome for freezing homemade baby food. The pods are 2 ounces, but you can also do 1 ounce since there is a marker for that. The tray is 100% food grade silicone and actually has a silicone lid instead of plastic. The pods are easy to remove when you want to serve or store longer-term. You can also use this for other uses when you’re done freezing baby food.
We got our weaning table from Michael Olaf because we like that the first chair is weighted and cannot be pushed in too far if a sibling, cousin, or older child wants to push the baby’s chair in. This ECR4Kids Natural Bentwood Multipurpose Kids Table and Chair Set looks great, too, and I like how they can be used as tables, chairs, stools, or shelves. It’s so nice to have a child-sized table and chairs for a baby or toddler to eat, work (play), and be independent at. Here are more weaning table and chair options.
So far, we’ve been using our Vitamix 5200 Blender, Professional-Grade, Self-Cleaning 64 oz. Container and it’s been working well. We thought we might get a smaller food processor, but we’re still not sure if we need one. The Vitamix works well for making larger amounts for the whole family or extra to freeze. A smaller food processor would work well for making smaller amounts and may be easier to clean if only making small amounts.
We’ve also been using our stainless steel steamer.
Our pediatrician recommended the Beaba Babycook. It would make it easier and quicker to make homemade baby food since you don’t have to transfer from a steamer to a blender/food processor and there would be less to clean. As a mom or dad, we can use all the time saving tricks we can get! Plus, you can put it in the dishwasher. I love the idea of the Beaba Babycook Neo because it has a stainless steel steam basket and a glass bowl, which is awesome if you’re wanting to eliminate plastic and be more natural. It even steams, blends, reheats, and defrosts. We haven’t bought this because we already had a steamer and Vitamix. It’s possible we may purchase it, though, because it really does seem awesome!
MORE BABY INSPIRATION AND BABY PRODUCT REVIEWS
Here are some more of my baby product reviews as well as baby inspiration!
Montessori-Inspired Travel with a Baby {Pre-crawling Baby}
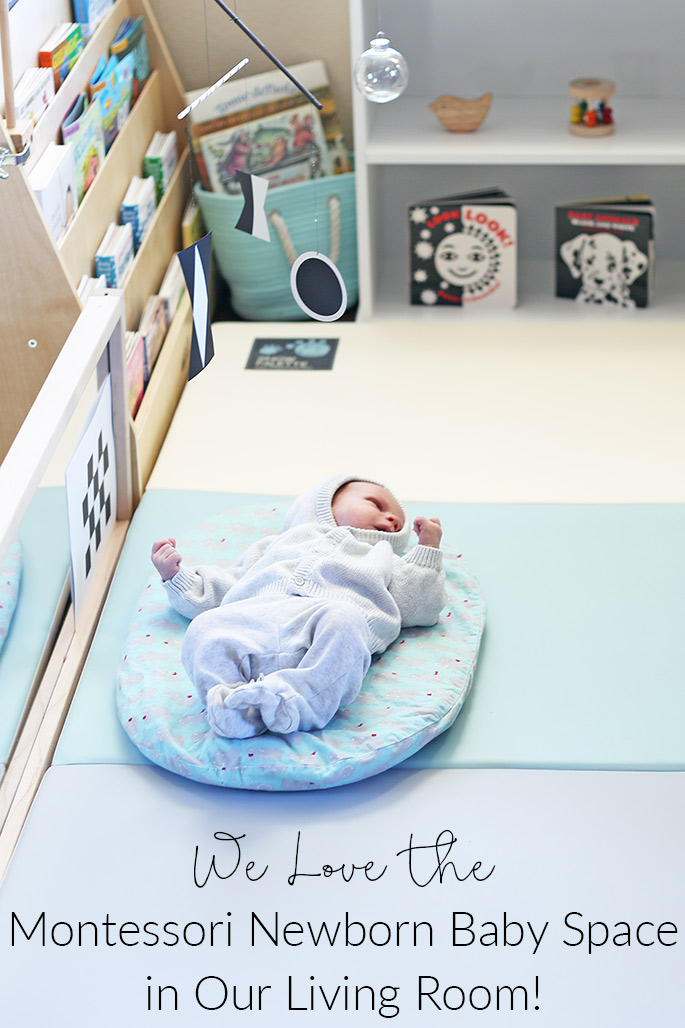
We Love the Montessori Newborn Baby Space in Our Living Room
Topponcino for Newborn Comfort and Security {Natural Baby Product Review}
CreamHaus Play Mat for Play and Naps {Natural Baby Product Review}
Wooden Baby Gym {Baby Product Review
 My Favorite Breastfeeding Cover: Covered Goods Four-in-One Nursing Cover {Baby Product Review
How to Prepare for a Newborn Baby Hospital Photoshoot
Fitting in Workouts with a Baby – Using a Topponcino
Fitting in Workouts with a Baby: Using a Wooden Baby Gym
Fitting in Workouts with a Baby: Using a Baby Carrier
Introducing Solid Food
Starting solid food with your baby can be an exciting (and sometimes a little scary) time. A little preparation goes a long way. I hope what we’re doing and what items we’re using help with your planning!
Have you introduced solid food to your baby? If so, what did you find most helpful when starting solid foods with your baby?
Have fun!
Connect with me, @ChristinaChitwood, on social media:
Instagram @ChristinaChitwoodOfficial
Twitter @ChrissyChitwood
I look forward to reading your comments, seeing your photos, and chatting with you on social media!![]()
May be linked to Practical Mondays Link Up, LouLou Girls, Hip Homeschool Hop, Tasty Tuesday


Thanks for sharing your ideas and its very lovely ideas.
Thanks for sharing your amazing tips in making toddler love to eat solid food.